
Wednesday, 28 March 2012
Roberta Settels Sandals
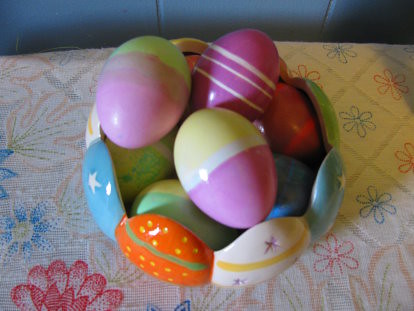
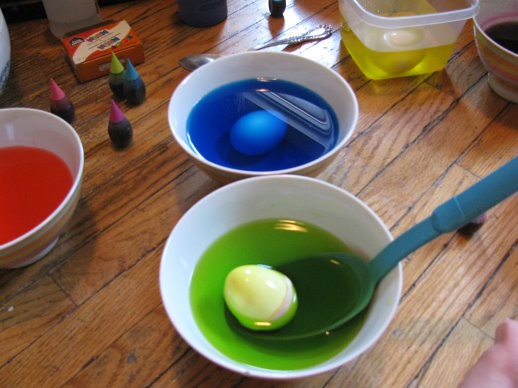
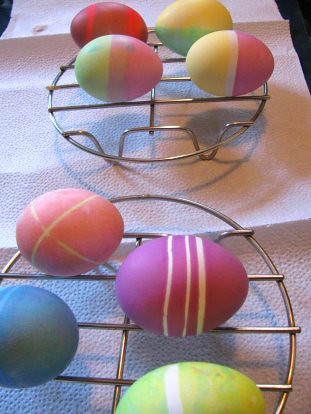
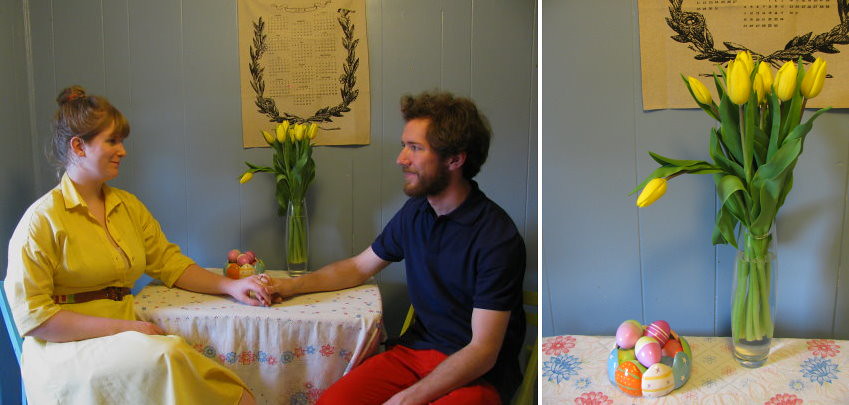
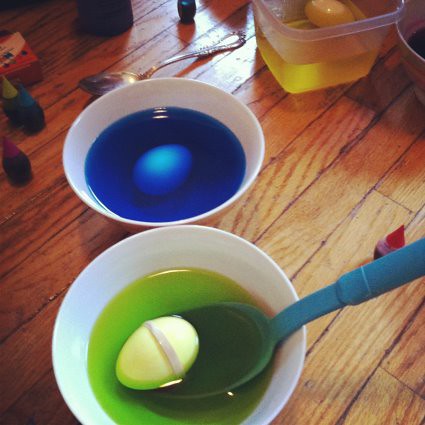
Dying Easter Eggs
Materials:
Hard Boiled Eggs
Vinegar
Bowls
Water
Food Coloring
Elastic Bands
1)
Create your vinegar water mixture: Adding
vinegar to the water helps the dye adhere to the eggs. Use about a tsp of
vinegar for every cup of water.
2)
Fill your bowls about half full of the
water/vinegar mixture (anymore and you may overflow when you put the eggs in
EEK!).
3)
Add drops of food colouring until you’re happy
with the hue than add two more drops. I found that the eggs always turned out
slightly lighter than the dye mix so making it darker achieved my desired look.

4)
Now start placing in your eggs! Eric and I used
different sized elastic bands to create striped effects on our eggs, but you
can also use some wax to draw on designs. This did get pretty messy so I would
suggest putting down some newspaper.
5) Use wire cooling racks to dry the eggs (or
something equivalent). This allowed for air to get around the entire egg so it
dried evenly and it prevented any smudging that might have occurred if the egg
was left flat.
Tuesday, 27 March 2012
Weekend Update
Sorry for the lack of posting this week! I took extra shifts at work and only had a one day weekend, so Eric and I had a jammed pack day of crafting and seeing friends. We went to Forest Hills in Toronto and walked around Wychwood Park (where Eric and I will live when we're billionaires) with our two good friends and their two year old son. We also made a new craft project for our wedding and I will post about it later this week!
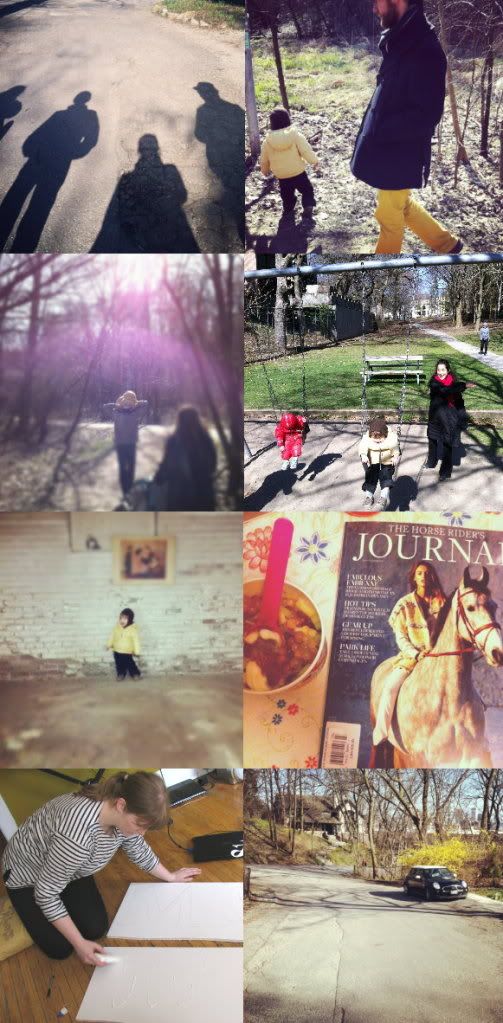
shadows/yellow/piggyback/swings/julius/frozen yogurt/crafting/wychwood
Wednesday, 21 March 2012
DIY Chalkboard Paint Matryoshka

Eric and I were on creative overboard last weekend. You saw my shoe clips and my leather clutch, but these Russian dolls were so much fun! They look so sleek unpainted and so goofy and homey all chalked up (mainly because I can only draw goofy). Here’s how we did it!

1) Find yourself some unpainted Matryoshka’s. Ours are from a local gift shop, but there are some really inexpensive ones on etsy like the ones here
2) Start painting! We used Hudson Chalkboard Paint, but there’s a great tutorial here that tells you how to turn any paint into chalkboard paint!
3) Admire your freshly coated Dolls!
4) Wait...wait...and wait some more while your dolls dry. Insert your own funtivity here, I chose to serenade Eric with my mad clarinet skills.
4) Wait...wait...and wait some more while your dolls dry. Insert your own funtivity here, I chose to serenade Eric with my mad clarinet skills.
5) Repeat steps 2-4 until desired. We did 2 coats and the dolls seemed perfect to us.
6) Now that your dolls are nice and dry it’s time to season them! Take a piece of chalk, turn it on its side and try to cover as much of the doll as possible, then erase the chalk. This will prevent writing being burned onto the doll. Now draw your funny designs over and over again.
I think this would be the perfect gift! It would be so much fun as a child to be able to create your own dolls over and over again. I already bought another blank doll to paint for my nephew!
Monday, 19 March 2012
Weekend Update
I went to my dads house for the weekend, which is north of Toronto. It was refreshing to breath fresh air and go walking down his dirt road. Eric stayed home, but I joined him late Sunday and we dyed Easter eggs. More on our eggs later!
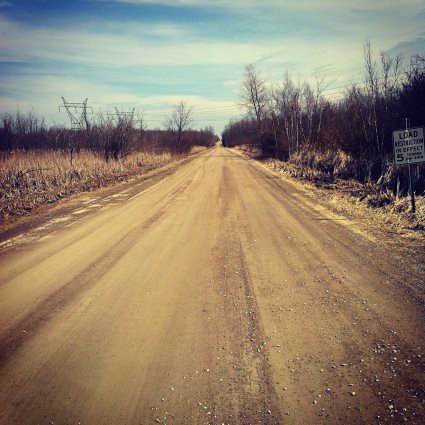
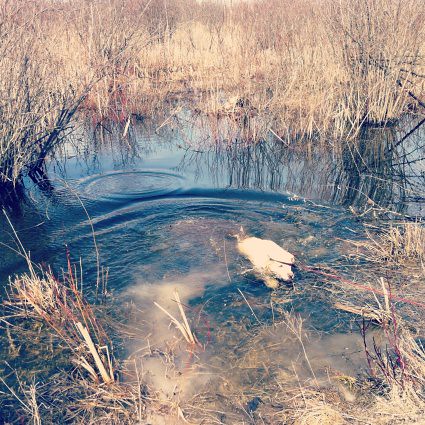
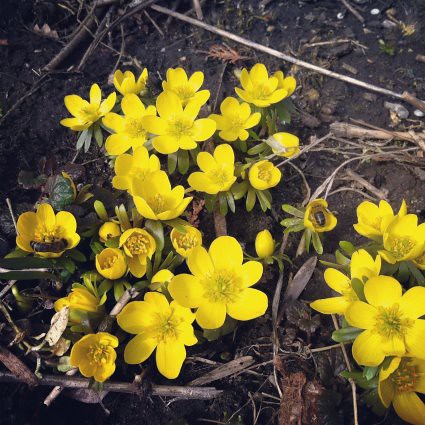
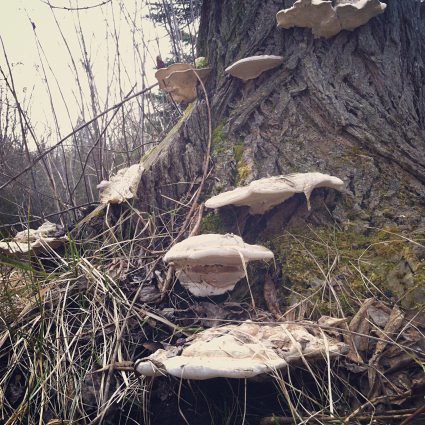
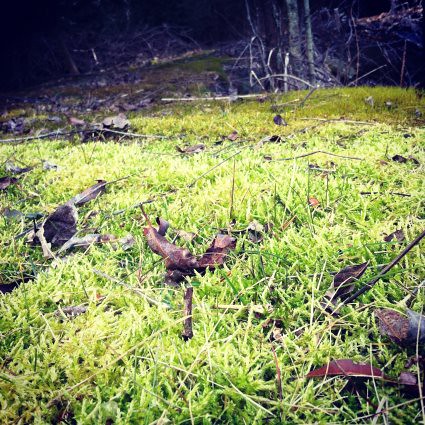


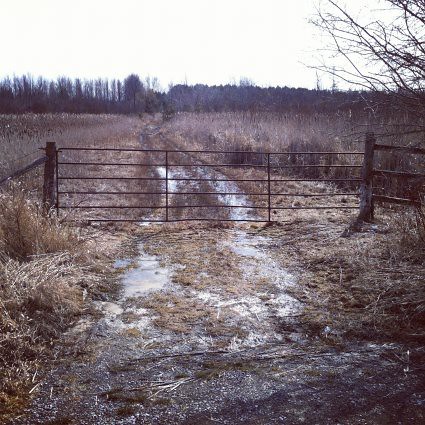


dirt road/ditch swim/marsh marigold/fungi/moss/crocus/typewriter/flood/hunters/sedum/egg dying
Ruche Wedding Collection
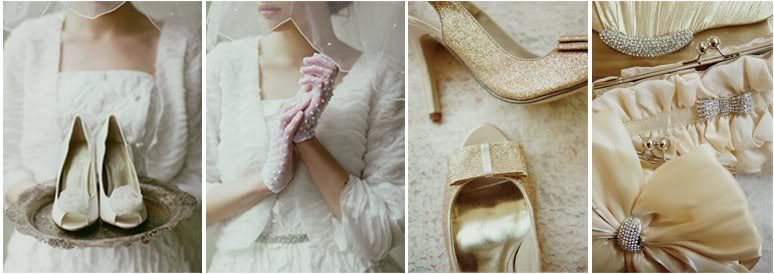
I am gushing over Ruche's Wedding Collection! There is one dress in particular that has captured my heart... it may just be a contender.
Saturday, 17 March 2012
Life in iPhone photos:
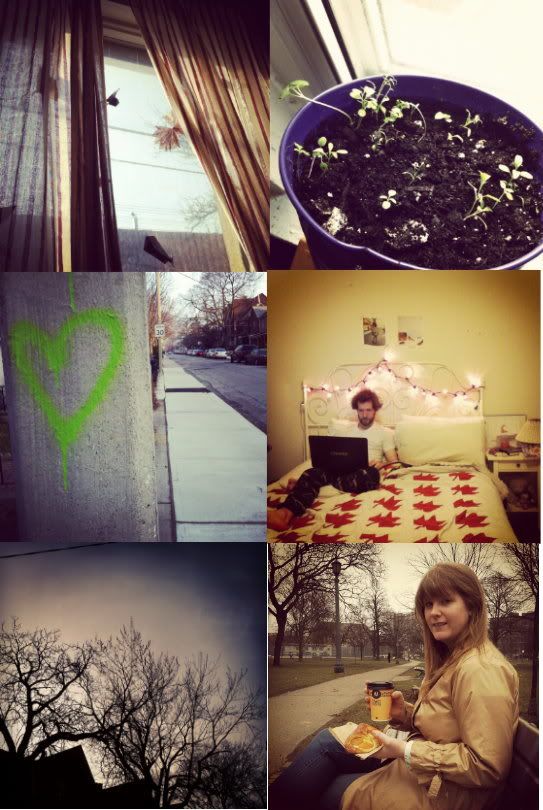
window origami/seedlings/street heart/TV in bed/treetop/breakfast croissant
Thursday, 15 March 2012
New iPhone Fun
Be prepared for lots of fun iphone related goodies like instagram photos (what do you mean you're sick of instagram... pssh), apps, and CASES! My phone was unfortunately stolen at work about a week ago, but it was jokes on him because my sad decrepit iphone 3 could barely make a phone call and I was already pondering an upgrade. My old phone just had a plain old green case, but I feel like this time I want to spice it up and get something snazzy since my phone is with me 24/7. Which case do you prefer?
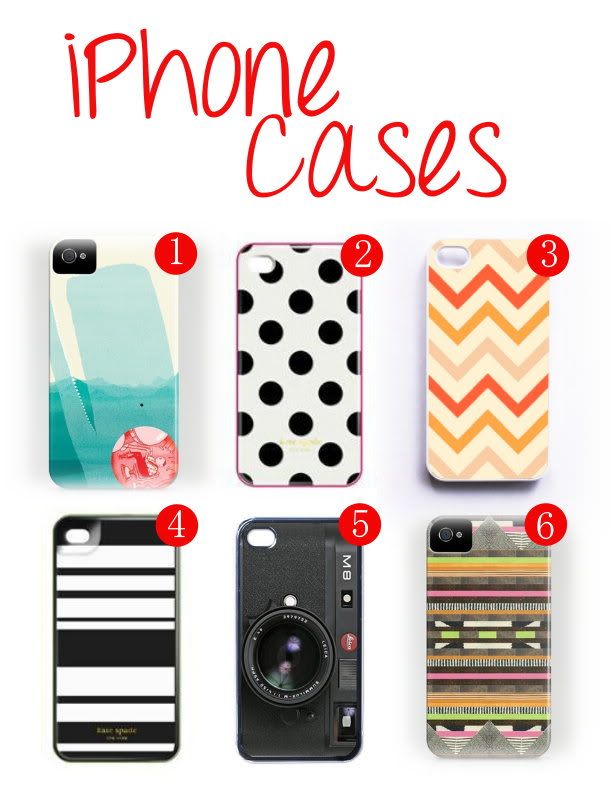
1) Control by Ryan Snook $35
2) Kate Spade on Amazon $4.35
3) Chevron on Etsy $16.99
4) Kate Spade on Amazon $6.74
6) Aztec No. 2 By Dawn Gardner $35
Tuesday, 13 March 2012
Belated Weekend Update

A belated weekend update in photos. It was a very crafty weekend! I made pom pom shoe clips and a leather clutch out of an old skirt, plus a little something else that I will post later!
Monday, 12 March 2012
Wedding Photos
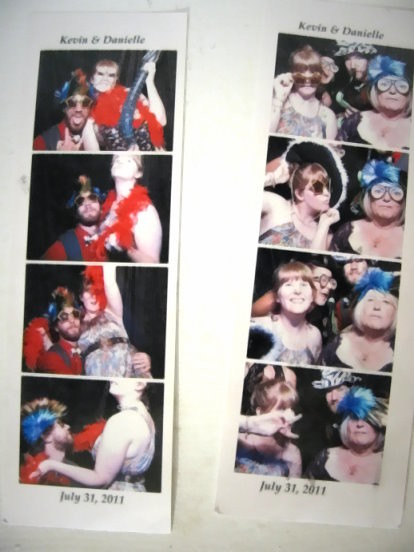
At my cousin's wedding last July they had a photo booth, which was such a fun extra! I had fun dragging Eric and all of my family members into the booth and taking photo after photo! It's not cheap so unfortunately we wont have such a thing, but we have decided to do something similar. We're going to have an instant camera set up next to our guest book in the hopes that people will take a picture, place it in the book, and then sign. We may even make some props like mustaches and silly noses, but this is still up in the air.
Friday, 9 March 2012
The Wedding Cake: Rose Chiffon Cake with Rose Butter Cream Icing
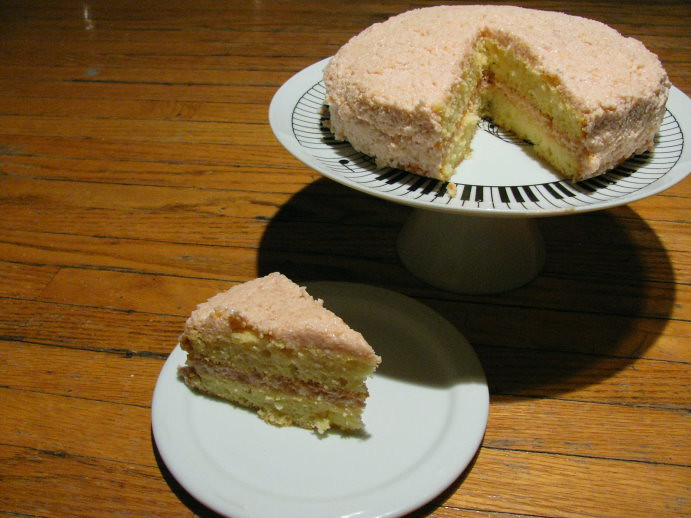
You may remember that Eric and I cut our dessert from our caterer in order to keep costs down and that we are planning on making our own cake. Since we're making the cake it's only logical to practice and figure out what cakes we like best and so this is test cake post number one.
We adapted two recipes to make this cake. For the cake we used this and for the icing we used this. We made a couple changes to the cake such as we only used rose water and still found the cake to be very rosey we also didn't use caster sugar which worked out fine. The icing was a bit disastrous as you can see in the picture. We think we over mixed it and the butter and rest of the mixture separated so it was a good learning lesson for us. In the end it was a very good cake, very light and fragrant. I think it's a contender.
Rose Chiffon Cake with Rose Butter Cream Icing:
For the Cake:
From Hunger Hunger
80ml rose water
4 egg yolks
70ml canola/veg oil
70ml canola/veg oil
6 TS sugar
1/2 tsp baking powder
100g + 1 T self raising flour
4 egg whites
1/4 tsp cream of tartar
1) Shift together baking powder and cake flour. Oven at 350.
1/2 tsp baking powder
100g + 1 T self raising flour
4 egg whites
1/4 tsp cream of tartar
1) Shift together baking powder and cake flour. Oven at 350.
2) In a bowl whisk together rose water, egg yolks, oil and 2 TS sugar until light and then fold in the flour mixture until well combined.
3) In a mixing bowl, whisk egg whites until foamy, then gradually add in the remaining 4TS sugar and cream of tartar and whisk until glossy peaks stage.
4) Fold 1/4 of the egg white into the yolk mixture to temper/lighten it, then followed by the rest of the egg whites.
5) Pour batter into two ungreased 8inch pans and bake in a preheated oven of 350 for 25 min.
6) Immediately invert the pan and leave to cool completely before icingFor the Icing:
From The Curvy Carrot
From The Curvy Carrot
2 sticks unsalted butter, softened
1 cup sugar
1 cup whole milk
1/4 cup sifted all-purpose flour
1 and 1/2 tablespoons vanilla extract
1 teaspoon rose water
1 cup sugar
1 cup whole milk
1/4 cup sifted all-purpose flour
1 and 1/2 tablespoons vanilla extract
1 teaspoon rose water
1) Cream the butter on medium speed, 3 to 5 minutes, in a stand mixer, or with a hand mixer until soft, about 30 seconds. Add the sugar and beat on high speed until light and fluffy, 5 to 7 minutes. Stop the mixer occasionally to scrape down the sides of the bowl and beat again.
2) In a small saucepan, combine 1/4 cup milk with the flour and vanilla extract. Whisk together until there are no lumps. Over medium heat, slowly add the remaining 3/4 cups milk, whisking constantly and cook until the mixture comes to a low boil.
3) Reduce the heat to low and continue mixing until the mixture starts to thicken slightly.
4) When the mixture starts to thicken, immediately remove the pan from the heat but keep stirring. After you have removed the pan from the heat, the mixture will continue to cook for a minute or two on its own.
5) If you overheat the mixture and find that you have some lumps, try to whisk them out or pass the mixture through a fine mesh strainer. Allow the mixture to cool to room temperature. Place the mixture in the freezer for a few minutes to speed up the process.
6) With the mixer on low speed, slowly pour the milk mixture into the butter and sugar mixture. Increase the speed to medium and beat until the frosting is light and fluffy, about 3 to 5 minutes. Add the rose water during this final mixing.
7) We added red food coloring at this point to the desired color.
Wednesday, 7 March 2012
Two New York

I work at a children's store, but once in a while we bring in items like Two's beautiful Kaftans, Tunics, and Dresses. They're so elegant and easy to ware it is difficult working around them all day because I want every single one! If you're looking for something timeless and easy to throw on during the hottest summer days than look no further!
Tuesday, 6 March 2012
DIY Save the Dates

Eric and I didn’t even consider having our save the dates or invitations made for us. We figured it would be too expensive, but mostly we are crafty people and like spending the time together. It was fun stamping the front of our save the dates, but I have to admit I did research how much it would cost to get our invitations done after attempting the back printing ourselves (which confirmed that it’s much too expensive for us. The average price for invites we liked on Etsy was $300 for 25, plus maps and rsvp cards are extra). It was extremely frustrating as our printer kept smudging ink and shifting text off center. Eric is much calmer than I am when it comes to computers so I left him to do that (*cough* he asked me to leave and go stamp, ha). He did figure it out, but we did waste some envelopes and paper in the process. We are very lucky, because we live down the street from one of the best paper stores in the city and had such a fun time picking paper (yes picking paper is AMAZING! So many colours and textures... who knew it could be so fun!). The seed paper won us over because of how beautiful it is and because how cool it is to plant a save the date and have a fun, living reminder of our love! We were a bit adventurous as the staff told us no one had attempted putting the paper through a printer before. They did say not to use a laser printer or you would cook the seeds, and that a regular printer might just get clogged with seeds. We decided to risk our printer anyway and are very glad we did! It didn’t clog our printer at all and I’m pretty sure it wasn’t the paper that was causing our printer to smudge (we have an awful printer that only sometimes works, we we’re planning on using my dad’s laser, but figured cooked seed paper was a little pointless). Below is a breakdown of how much it cost us to make 27 save the dates. Remember we did buy a couple extra envelopes and sheets of paper, plus our printer needed ink so we had to buy a whole new cartridge which will get us through many more printing jobs.

Stamps: $43.96
Paper/Envelopes: $36.61
Postage: $17.35
Printing: $63.16
Paper/Envelopes: $36.61
Postage: $17.35
Printing: $63.16
Total: $161.08
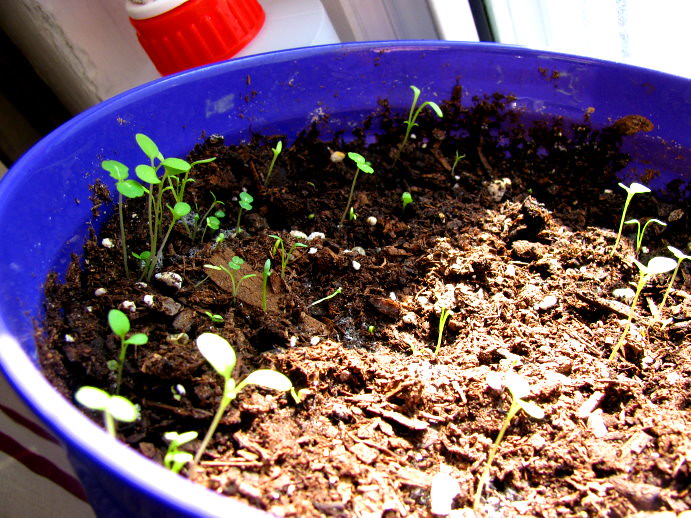
We planted some rejects and this is our little pot a week later
Friday, 2 March 2012
Flowers Under 50

Have you seen this post over at Design Sponge? Great idea for cheap flowers at your wedding (or any party for that matter).
Subscribe to:
Posts (Atom)