
You may remember that Eric and I cut our dessert from our caterer in order to keep costs down and that we are planning on making our own cake. Since we're making the cake it's only logical to practice and figure out what cakes we like best and so this is test cake post number one.
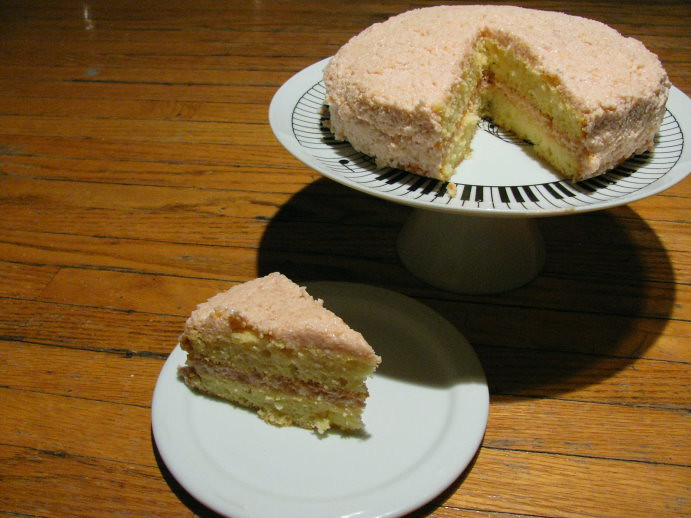
We adapted two recipes to make this cake. For the cake we used this and for the icing we used this. We made a couple changes to the cake such as we only used rose water and still found the cake to be very rosey we also didn't use caster sugar which worked out fine. The icing was a bit disastrous as you can see in the picture. We think we over mixed it and the butter and rest of the mixture separated so it was a good learning lesson for us. In the end it was a very good cake, very light and fragrant. I think it's a contender.
Rose Chiffon Cake with Rose Butter Cream Icing:
For the Cake:
From Hunger Hunger
80ml rose water
4 egg yolks
70ml canola/veg oil
70ml canola/veg oil
6 TS sugar
1/2 tsp baking powder
100g + 1 T self raising flour
4 egg whites
1/4 tsp cream of tartar
1) Shift together baking powder and cake flour. Oven at 350.
1/2 tsp baking powder
100g + 1 T self raising flour
4 egg whites
1/4 tsp cream of tartar
1) Shift together baking powder and cake flour. Oven at 350.
2) In a bowl whisk together rose water, egg yolks, oil and 2 TS sugar until light and then fold in the flour mixture until well combined.
3) In a mixing bowl, whisk egg whites until foamy, then gradually add in the remaining 4TS sugar and cream of tartar and whisk until glossy peaks stage.
4) Fold 1/4 of the egg white into the yolk mixture to temper/lighten it, then followed by the rest of the egg whites.
5) Pour batter into two ungreased 8inch pans and bake in a preheated oven of 350 for 25 min.
6) Immediately invert the pan and leave to cool completely before icingFor the Icing:
From The Curvy Carrot
From The Curvy Carrot
2 sticks unsalted butter, softened
1 cup sugar
1 cup whole milk
1/4 cup sifted all-purpose flour
1 and 1/2 tablespoons vanilla extract
1 teaspoon rose water
1 cup sugar
1 cup whole milk
1/4 cup sifted all-purpose flour
1 and 1/2 tablespoons vanilla extract
1 teaspoon rose water
1) Cream the butter on medium speed, 3 to 5 minutes, in a stand mixer, or with a hand mixer until soft, about 30 seconds. Add the sugar and beat on high speed until light and fluffy, 5 to 7 minutes. Stop the mixer occasionally to scrape down the sides of the bowl and beat again.
2) In a small saucepan, combine 1/4 cup milk with the flour and vanilla extract. Whisk together until there are no lumps. Over medium heat, slowly add the remaining 3/4 cups milk, whisking constantly and cook until the mixture comes to a low boil.
3) Reduce the heat to low and continue mixing until the mixture starts to thicken slightly.
4) When the mixture starts to thicken, immediately remove the pan from the heat but keep stirring. After you have removed the pan from the heat, the mixture will continue to cook for a minute or two on its own.
5) If you overheat the mixture and find that you have some lumps, try to whisk them out or pass the mixture through a fine mesh strainer. Allow the mixture to cool to room temperature. Place the mixture in the freezer for a few minutes to speed up the process.
6) With the mixer on low speed, slowly pour the milk mixture into the butter and sugar mixture. Increase the speed to medium and beat until the frosting is light and fluffy, about 3 to 5 minutes. Add the rose water during this final mixing.
7) We added red food coloring at this point to the desired color.
No comments:
Post a Comment